If you are a homeowner or contractor using this injection system for the first time, here are the application instructions for PipeFuze.
PipeFuze is a 2-part low-pressure injection system that fills and seals areas in a pipe where leaks occur. When a pipe is running under concrete, behind a pool, or in a place where destructive construction might seem like the only option to fix the pipe, PipeFuze offers another option that doesn’t use a shovel.
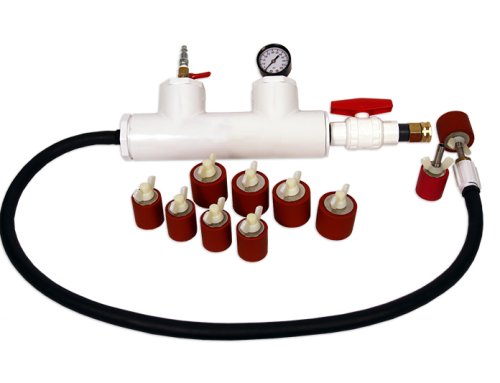
Prior to using PipeFuze, we recommend you perform a pressure test on the pipeline you are about to inject. Bring pressure up to 10-15 lbs. For smaller-diameter pipes, the pressure should be on the smaller end of the pressure. For larger-diameter pipes, the pressure should be at the upper end. If you notice more than a 5 lbs. drop in 30 seconds, chances are that the break is too large for PipeFuze to handle. There is a good chance you will need to cut the deck open to repair it. For trenchless pipe repair without cutting and digging, Pipepoxy might be a better fit.
If the break or leak fits the parameter aforementioned, then you know you are good to proceed with PipeFuze. First, you must determine the inflow and outflow of the pipe you are about to repair. If that pipe has multiple inlets or outlets, it may be necessary to either shut them if they have valves or plug them with a plug.
Application Instructions for the PipeFuze Injection System
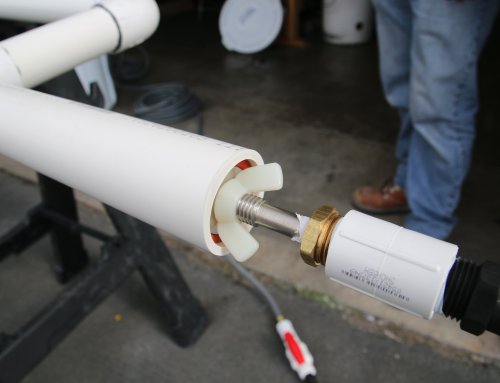
Next, insert the Pipe Injector into the inflow side of the line and the return rig at the predetermined outflow side of the line you are repairing.
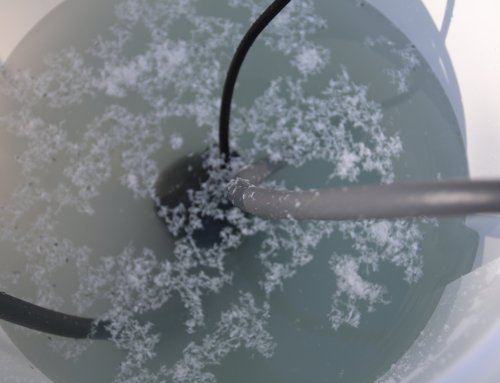
We recommend you set the mixing bin on a flat surface anywhere centered between the injection rig and the return rig if possible and fill it halfway with water. Set the injector pump into the mixing bin and connect the female side of the hose to the pump. Connect the male side of the same hose to the injection rig. Also, connect the female side of the other hose to the return rig and connect the male end of the same hose in the mixing tank.
Now you want to check to make sure there are no kinks in any of the hoses. After this is done, plug in the injector pump and wait until the line is primed completely and all air is purged. Now on to the fun stuff! Shake Part A: Polymer and Filler vigorously for one minute. Then, pour the entire contents of Part A into the bin. Reinstall the injector plugs back into the line firmly and plug the injector pump back in. Let the system run for approximately 2 hours while keeping an eye on the bin. This helps you avoid major water loss. If there is, then the leak clearly isn’t sealed. Add another bottle of Part A, refill the bin halfway, and repeat the process above while watching the water level.
Once you complete running Part A, shake Part B: Catalyst Hardener vigorously for one minute. Then, pour the entire contents of Part B into the mixing bin and allow the pump to run continuously for approximately 2 hours. For best results, if possible, run part B for a maximum of 3 hours.
Confirm if the Application was Successful
Lastly, disconnect the injection rig and the return rig and clean them with water. Clean out the mixing bin and rinse the pump with water as well. At this point, you can either pressure test the line or return it to service. We always recommend conducting a pressure test to ensure the line is holding pressure.
Here is a demonstration video to help you better understand the proper process of the PipeFuze injection system.
If you have any questions, don’t hesitate to reach out to us at 818-436-2953 or info@leaktronics.com.