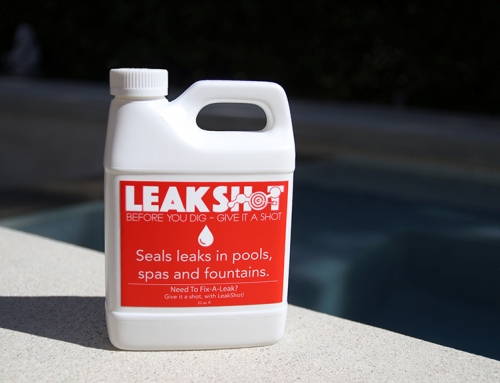
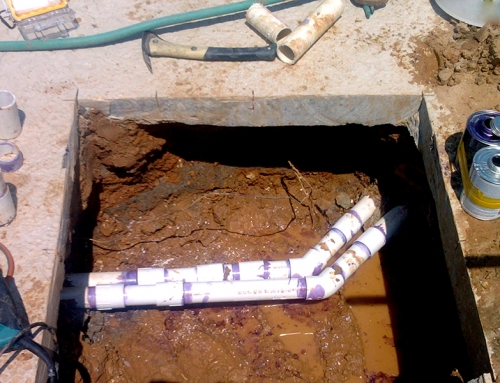
PipeFuze is scientifically formulated to fill cracks, holes and small separations in pipes and non-potable plumbing without having to dig to make repairs. With a fairly simple application, water loss is easily stopped and users can avoid the hassle of digging up concrete to make repairs on leaks that aren’t detrimental. But there are sometimes questions about how much Part A fluid do I need to use?
Everyone has a different situation when it comes to using PipeFuze to repair their pipes. If every pipe cracked identically, the world would be a drier place, but unfortunately, pipes come in all sorts of materials, and cracks happen differently in every one of those pipes. Sometimes, more than one bottle is used to get the job done right.

When cycling through the first bottle of Part A in the PipeFuze Fluid Set, there are smaller particulates along with the larger ones that get drawn into the area where the crack occurs. This is a natural process where the tiny pieces escape as the larger pieces begin to fill the space. As the fluid continues to circulate, and the larger particulates fill the hole, the smaller pieces will fill in between the larger pieces, ultimately, forming a complete blockage and stopping the water loss.
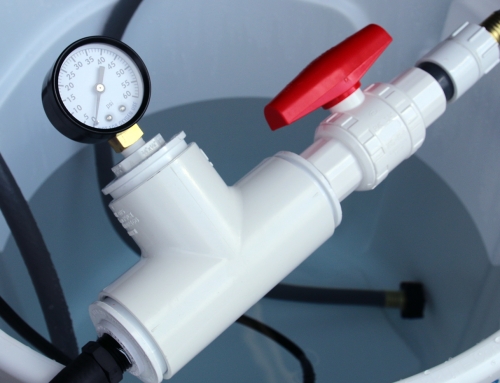
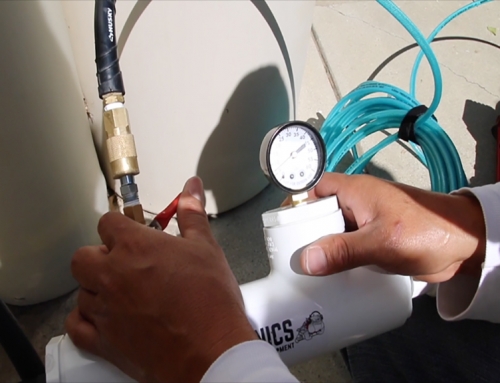
Depending on the size of the separation where water is escaping, and the flow of water moving through it, smaller pieces might begin to diminish in volume as the fluid works to do its job. Smaller pieces will always get drawn into the crack first. This is why we recommend performing a second low-pressure test on the pipe after a couple of hours, to see if it’s holding that pressure; meaning that the water has stopped flowing through the crack. If it has, it’s time to administer Part B. If the pressure loss has reduced to a significantly smaller amount, but still persists, continue to cycle Part A through the pipe – or even add a second bottle.
By adding a second bottle, you are allowing for more of the smaller bits to circulate and continue to fill the smaller spaces where the smaller amount of pressure is still escaping. If adding a second bottle isn’t your choice, try lifting the pump and make sure the bottom is cleared off, and is able to pull in all the available particulates still in the bucket. Run the system for another hour and perform another pressure drop test to see that its holding.
When the water isn’t flowing through the crack any longer, the viscous fluid of Part A will begin to harden and scab over from the outside of the pipe where water is no longer present. Because the inside of the pipe is still filled with water, it’s Part B that forms the reaction between the fluids and causes it to harden in place. Cycle Part B through for an hour and when you’re satisfied with the result, cycle through the pipe with hose water to remove any fluid remaining, remove the pump and valves and rinse everything clean before putting it away.
If your pool contractor owns the equipment to do the job, you can order the fluids to seal your pipes directly from PipeFuze. Click HERE to order your fluid set today.